Key Takeaways
- Knowing the Roman shade installation process, whether you decide to DIY or rely on experts, is crucial. Learn how to hang Roman shades easily in seven easy steps!
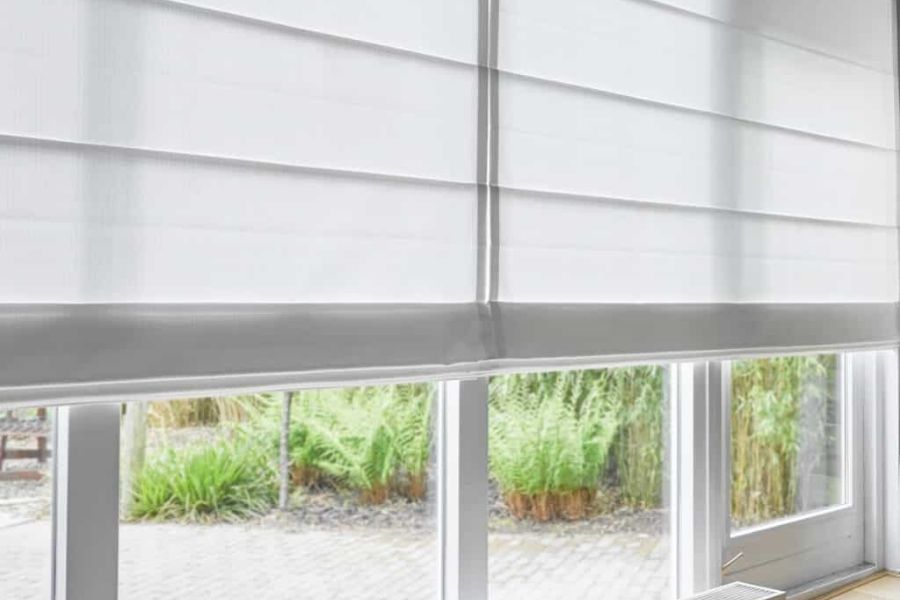
How to hang Roman shades?
Step 1: Gathering Necessary Tools and Materials
Begin the process of how to hang Roman shades by checking if you have all the necessary tools and materials below:
- Steel Measuring Tape
- Level tool
- Pencil
- Step ladder (if necessary)
- Screwdriver or power drill (with ¼” hex driver and drill bit)
To achieve a perfect and polished Roman shades installation, it is essential to properly prepare so that you can measure, mark, and fasten the shades without assistance. It helps avoid mistakes like unequal brackets or incorrectly secured screws, as well as delays brought on by missing tools.
Furthermore, if you have everything ready, you can concentrate on hanging Roman shades and make it go more quickly, safely, and satisfactorily.
Step 2: Measuring the Roman Shades
Inside mount Roman shades:
- Measure the depth at which your brackets will be put.
- Measure the opening’s width from edge to edge at the top, middle, and bottom. To the closest 1/8″, record the narrowest measurement among these three.
- Measure the height from edge to edge in three places: left, middle, and right. To the closest 1/8″, record the tallest measurement among these three.
- Ensure your measurements follow the width-by-height format (W x H).
Note: Confirm that the manufacturer will automatically make a minor deduction on inside-mount shades to guarantee a perfect fit. Some workrooms expect the measurer to take the deduction.
Outside mount Roman shades:
- Measure the width of the area you want to cover; overlapping by 1 1/2″ on each side is the minimum amount advisable.
- Measure the height that has to be covered from the top of the designated headrail position to the top of the sill. Measure below the opening to the appropriate length if there isn’t a sill.
- Ensure your measurements follow the width-by-height format (W x H).
- Keep in mind the height of the stack when determining your height measurements. You may want to make the shade stack go up on the wall above the window rather than covering more of your window.
Note: The manufacturer will not make deductions for outside mount shades. Your product will be made using your precise measurements.
Step 3: Preparing the Roman Shades for Installation
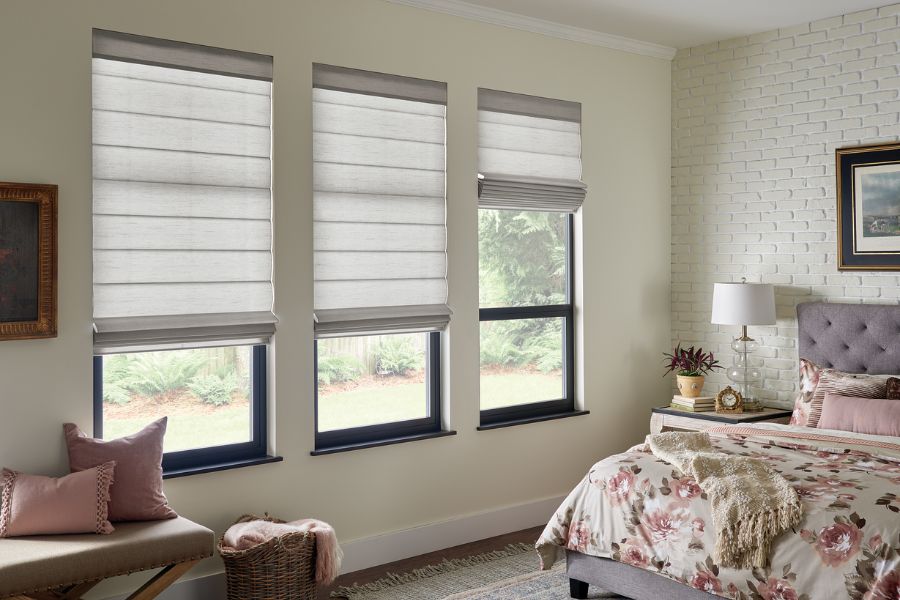
Prepare for your Roman shade installation
How to hang Roman shades? It is vital to thoroughly examine the package to make sure all required components—such as brackets, screws, and the shades themselves—are present before installing Roman shades. Installation issues or delays may result from missing parts.
Specific installation instructions may be essential for a snug fit, depending on the type of Roman shades. By being aware of these recommendations beforehand, you can avoid mistakes during the procedure.
Follow the instructions to pre-assemble the brackets and any other hardware if necessary. This preparation speeds up the installation process and helps guarantee that the shades operate as intended.
Step 4: Marking and Drilling Holes for Brackets
Inside mount Roman shades:
- Usually, brackets are positioned 1 – 2 inches out from the headrail’s ends. Use a pencil to make these marks on the inner top of the window frame. For wider shades, you may need additional brackets. Follow the manufacturer’s guidelines.
- Use a level to ensure even spacing and level alignment so the shades are hung correctly. Also, guarantee the shades have enough clearance to function appropriately and that the brackets won’t obstruct any window hardware, such as locks or handles.
Outside mount Roman shades:
- The measurements you determined for the width of your shade will determine where you should place the brackets for an outside-mount installation.
- Choose the position where the shade’s top should be, 2 – 4 inches above the window frame. Mark this height on both sides.
- Ensure the brackets are level and evenly placed along the shade’s width. Also, guarantee their placement won’t obstruct the shade’s control mechanism.
- Use a pencil to mark the locations of both brackets. Use a level to verify straight alignment.
Step 5: Installing the Brackets

How to install Roman shades?
After the brackets are in their respective positions, drill pilot holes with the appropriate size drill bit. The wood’s holes will facilitate the screw-driving procedure and minimize the chance of the wood splitting or the wall becoming damaged.
Once you position the brackets over the pilot holes, screw them in place. To fasten the brackets into the window frame or wall, use a screwdriver or drill to insert the screws.
Once you have attached the shades, ensure the brackets are firmly secured to support their weight. Use a level to ensure the brackets are positioned correctly. Make any required modifications to guarantee the shades hang correctly and function properly.
Step 6: Hanging the Roman Shades
Inside mount headrail installation:
- Position the headrail so that the brackets are in line with it. The headrail should fit tightly within the window opening.
- Your Roman shades’ design will determine whether you must hook the headrail onto the brackets or snap it into position. Carefully adhere to the manufacturer’s directions and firmly fasten the headrail to prevent swaying.
- Use a level to ensure the headrail is straight. If it is not, adjust the headrail or brackets as necessary.
- Pull it up and down to ensure the shade works appropriately and the headrail is firmly in place.
Outside mount headrail installation:
- Hold the headrail to the brackets to ensure it correctly aligns with your placement markings. Above the window, the headrail should cover the appropriate height and width.
- Your Roman shades’ design will determine whether you must hook the headrail onto the brackets or snap it into position. Carefully adhere to the manufacturer’s directions, and make sure you firmly fasten the headrail to prevent swaying.
- Use a level to guarantee the headrail is straight. Ensure you tightly attach everything to maintain the stability of the headrail if your brackets need further fastening, such as tightening screws or locking mechanisms.
- Pull it up and down to ensure the shade works appropriately and the headrail is firmly in place.
Step 7: Final Adjustments and Safety Tips
To ensure Roman shades fit and operate correctly, you must make final adjustments after installation.
First, ensure the shades are operating smoothly and hanging evenly. If necessary, adjust the headrail or brackets to fix any misalignment.
Finally, double-check that you firmly attach all of the screws and brackets to guarantee the shades are firmly secured and prepared for everyday usage.
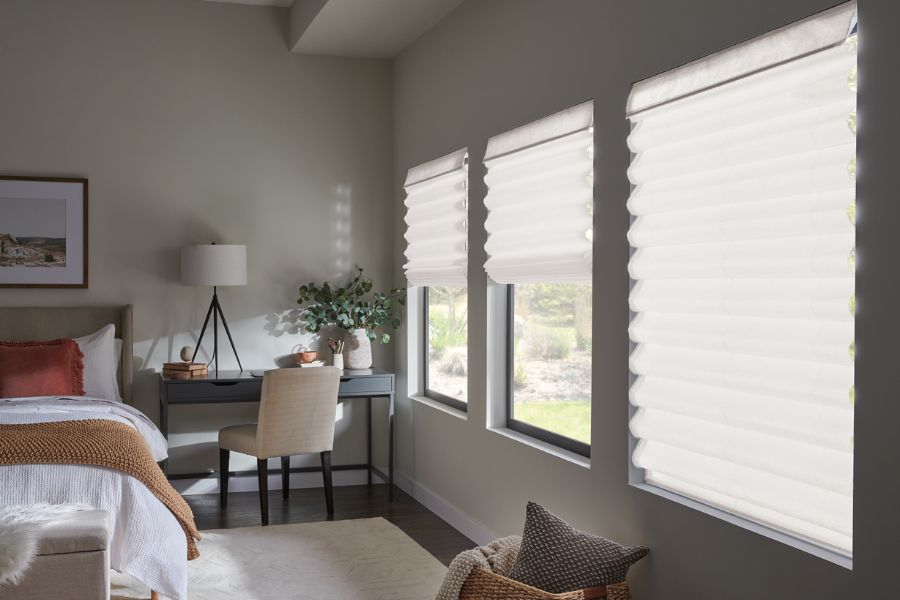
Hanging Roman shades
Now that you know how to hang Roman Shades, you can decide whether to try it yourself or hire a professional to help you with the project. Contact us at creativewindows.com in Ann Arbor, Michigan, if you need assistance.
From cutting-edge design ideas to in-house manufacturing and installation, our commitment is to support our clients at every project stage. Now, give your room a makeover with elegant, superior window treatments!


