Key Takeaways
- How to install cellular shades starts with preparing essential tools and materials for a smooth installation. Discover the items you’ll need to complete the setup.
- Whether you’re a DIY enthusiast or a first-timer, you can easily install your shades by following the step-by-step instructions provided for both inside and outside mounts.
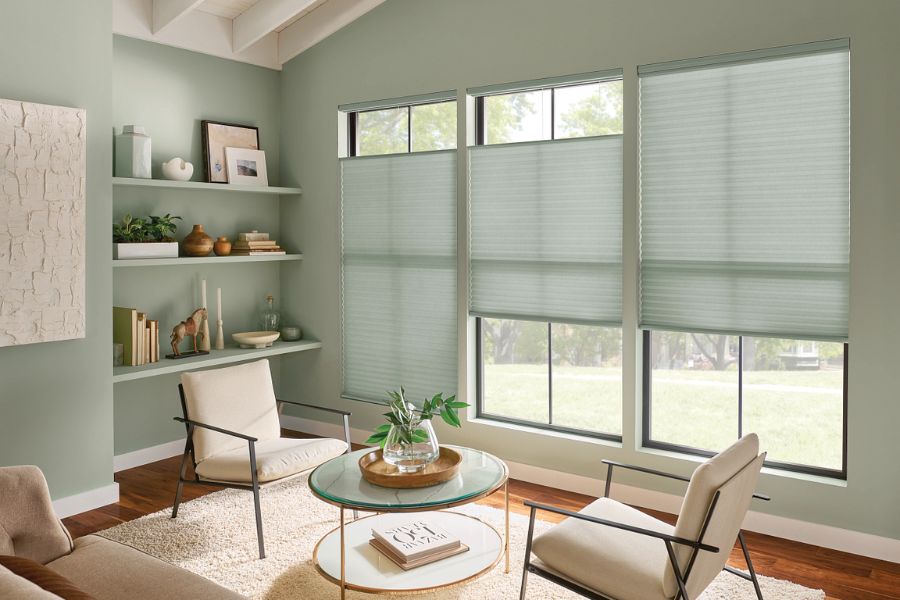
How to install cellular shades
Tools and Materials Needed
- Steel Measuring Tape
- Pencil
- Level tool
- Step ladder
- Power drill and drill bit
- Screwdriver
Inside/Ceiling Mount Cellular Shade Installation Process
An inside mount preserves the window’s architectural features. Installing the cellular shades inside the window frame gives off a clean, sleek appearance.
Inside mounts offer various benefits. They are a popular option for showing off window trim. They are best suited for windows with enough depth to accommodate the shade. Follow these steps on how to install cellular shades see!
Step 1: Measure the Window
- The width of each window: Once more, the top, middle, and bottom will be the measurement points. Use the narrowest measurement possible in this measurement.
- The height of each window: Measure the height at the left, center, and right. Choose the measurement that is the longest as the ultimate height.
- The depth of the window frame: Measure from the front of the window frame to the glass to determine if you have adequate space for the mounting brackets. Look for obstructions such as casement window cranks, lever locks, or security alarms.
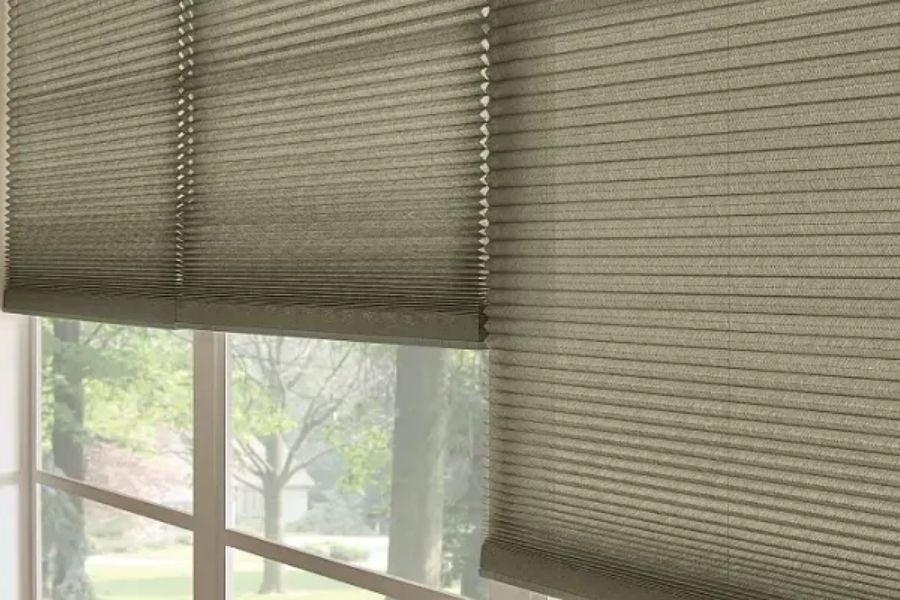
Measure the window
Step 2: Mark the Bracket Locations
Brackets are the pieces that fasten the window frame and provide your cellular shades with a stable foundation. Central support brackets may occasionally be included for heavy or wide shades. For your new window treatment to be solid and safe, you should firmly install all brackets.
Mark the position of the brackets about 2 ½ inches from either side of the window opening along the top of the window if you’re performing an inside mount. Align the front of each bracket to guarantee uniform alignment.
Doing so will ensure the shade has enough space to fit and not scrape against the sides when opened.
Step 3: Drill Pilot Holes
The cellular shades installation requires drilling pilot holes. Make pilot holes in your screws with a drill. Before screwing the mounting hardware, make sure these are level. Also, remember to mark the hole locations with a pencil before creating starter holes with a drill or hammer.
Step 4: Attach the Brackets
Screwing the brackets securely into position is the final step in bracket installation. Because drilling directly into drywall without studs might lead to wall crumbling, you’ll need to consider the position of the screws. In this case, the best action is to use drywall anchors at the bracket locations.
Step 5: Hanging the Cellular Shades
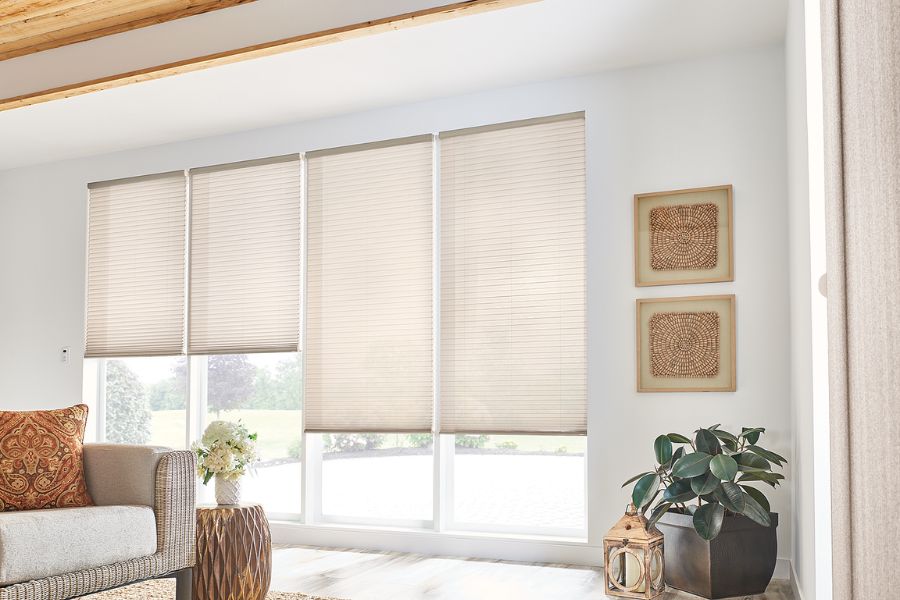
How to hang cellular shades
To install cellular shades, all you have to do is to snap the headrail into position. It’s better to have the shades fully up, making the shade stack more straightforward to handle.
Ensure the headrail and brackets are lined up carefully. Once the front of the headrail has been hooked into the front of the brackets, you may move the shade into position until the shade clicks into all brackets securely.
Center support brackets add a little complexity to the operation. Still, if you align everything, they should snap into place without any issues. Grasp either end of the headrail with both hands while you align it with the brackets for a seamless installation.
Step 6: Final Adjustments
That’s how to install cellular shades. Now is the perfect time to make any last adjustments if the shade does not sit evenly or if you detect any problems with the functioning. Check again that the brackets are firmly secured and level.
Outside Mount Cellular Shade Installation Process
The main distinction between the outside and inside mount is that an outside mount shade overlaps the window on all sides. The outside mount provides better light management by limiting light leakage, improving privacy, and covering a larger portion of the window.
Moreover, installation is more straightforward and adaptable, supporting windows with obstacles or narrow frames. Because of their versatility in location and range of designs, outside mount shades are an attractive and helpful option for any space.

Outside mount cellular shade installation
Step 1: Measure the Window
- Width measurement: Measure the width at three locations: close to the window’s top, center, and bottom. For each measurement, round to the nearest 1/8″.
- Height measurement: The height measure marks three locations: the left side of the window, the middle of the window, and the right side. For each measurement, round to the nearest 1/8″.
- Add the appropriate amount of overlap, and be sure to account for the bracket height above the window. For blackout shades, you may want to overlap slightly more to help block more light. General overlap is 1.5” to 2.5” per side, depending on the light blockage and privacy needed.
- If your window has trim you may either mount the shade on the trim, or mount the shade above the trim, using spacers behind the brackets to get the shade out in front of the trim when you install. Check the depth of the trim to determine the spacer depths needed. Spacers generally come in ¼”, ½”, and 1” increments.
Step 2: Mark the Bracket Locations
After choosing the right size and measuring the window with overlap, mark the bracket locations. When you place the shade on the wall or window trim, ensure it is level and centered. Mark the top of the headrail with a pencil 2 ½ inches from the outside edges of the shade on the left and right.
Step 3: Drill Pilot Holes
After marking the bracket locations, use a drill bit that fits the hole and your drill. This specific step is crucial to ensure the screws go in quickly and securely, regardless of whether you’re putting them into wood or drywall.
If you are not mounting in front of a stud, use a hammer to tap the anchors into place after pre-drilling holes that match the holes in the back of your brackets.
Step 4: Attach the Brackets
Place the left bracket’s top in line with the inside of your pencil line and secure with the included screws. Repeat this step for the right bracket.
Step 5: Hanging the Cellular Shades
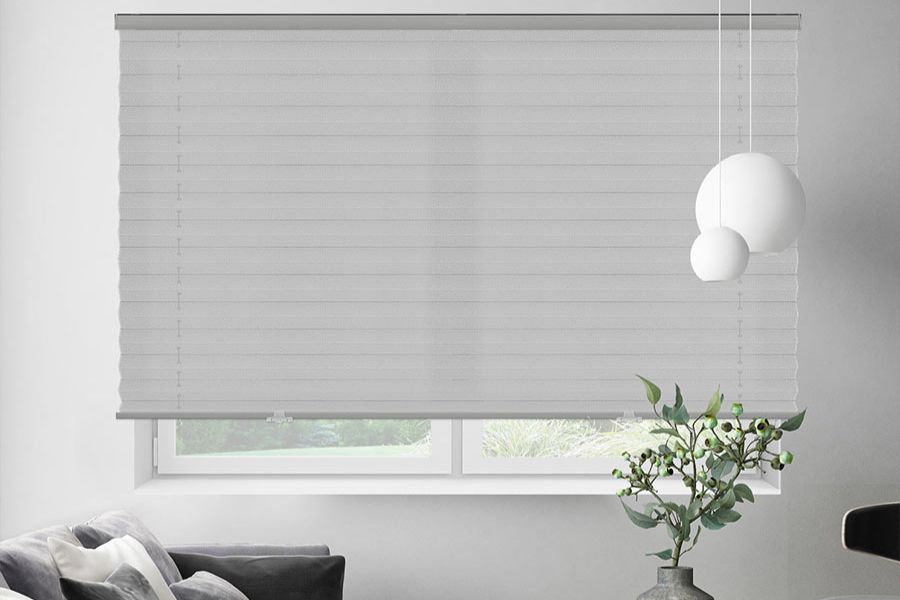
Hanging cellular shades
After the brackets are in place, installing the shade is now possible. Lift the shade and insert the headrail into the mounting brackets. When placed correctly, most cellular shades will click into place.
Step 6: Final Adjustments
After the brackets are in place, installing cellular shades is now possible. Lift the shade and insert the headrail into the mounting brackets. When placed correctly, most cellular shades will click into place.
To test the shade’s operation, pull it down and then back up. Ensure the shade is firmly attached to the brackets and functions smoothly.
If there is a problem, make the necessary adjustments. Verify again that the brackets are tight and the shade is level. If the shade is not sitting evenly, gently reposition the brackets. Additionally, it’s a good idea to dust your cellular shades routinely.


