Key Takeaways
- Find out why roller blinds are among the most preferred choices for house owners.
- Prepare for roller shades installation in your house, starting with choosing your mounting style, measuring your window, and getting the necessary tools.
- Uncover the best practices on roller shade installation to enhance privacy and elevator your living space.
- Explore proven tips on testing and maintaining your roller blinds for long-lasting, smooth operations. Scroll down now!
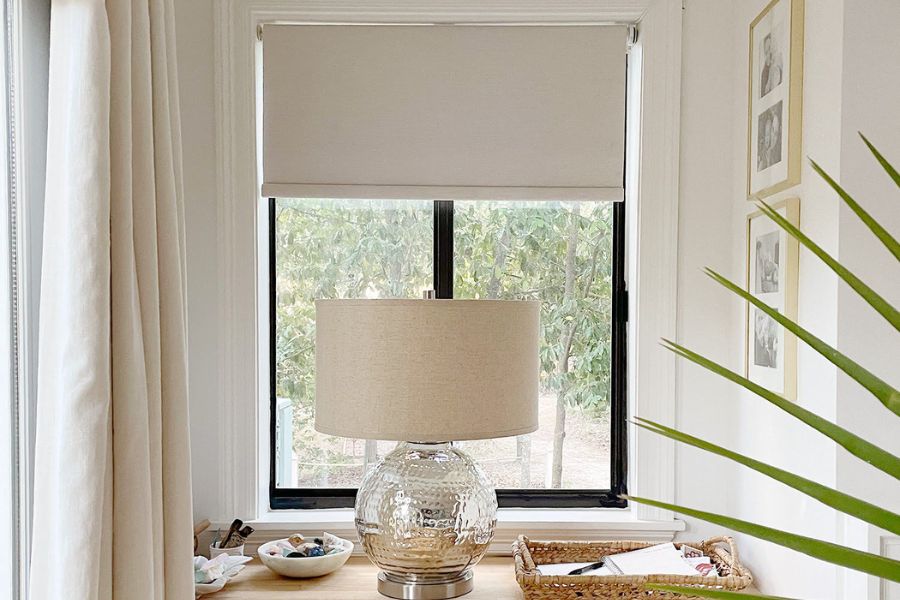
How to install roller shades?
Why Choose Roller Blinds?
- Affordability: Budget-friendly option thanks to straightforward design.
- Convenience: Only require a simple wipe with a cloth for a thorough cleaning.
- Aesthetic Appeal: Their modern style, sleek lines, and colorful designs enhance the beauty of any space.
- Versatility: Suitable for various window shapes and sizes.
- Energy Efficiency: Minimize energy use and save heating and cooling expenses.
- Enhanced Privacy: Shield view offers the best protection against undesired outside attention with a single fabric sheet.
- Ease of Use: Eliminate the trouble with tangled cords and complex systems.
- Light Control: Ideal covering for windows to keep out light.
Pre-Installation Steps
Step 1: Decide Your Mounting Style
Roller shades can be installed inside, outside, or above the window frame. Your mounting style will determine how your roller blinds appear and perform.
As the name implies, the inside mount positions the blinds inside the window frame, resulting in a sleek and integrated appearance. On the other hand, the outside mount positions the blinds outside of the frame, providing extra coverage and flexibility.
Step 2: Measure Your Window
Accurate measurements are essential for a successful roller blind installation. So start by making pencil markings at the window frame’s top, middle, and bottom.
Use tape to measure the distance to which you want the blind to be attached. Measure horizontally from one point to another, ensuring you get the narrowest measurement.
Take measurements from the top mark to the windowsill or the intended endpoint for height, and then take the shortest measurement.
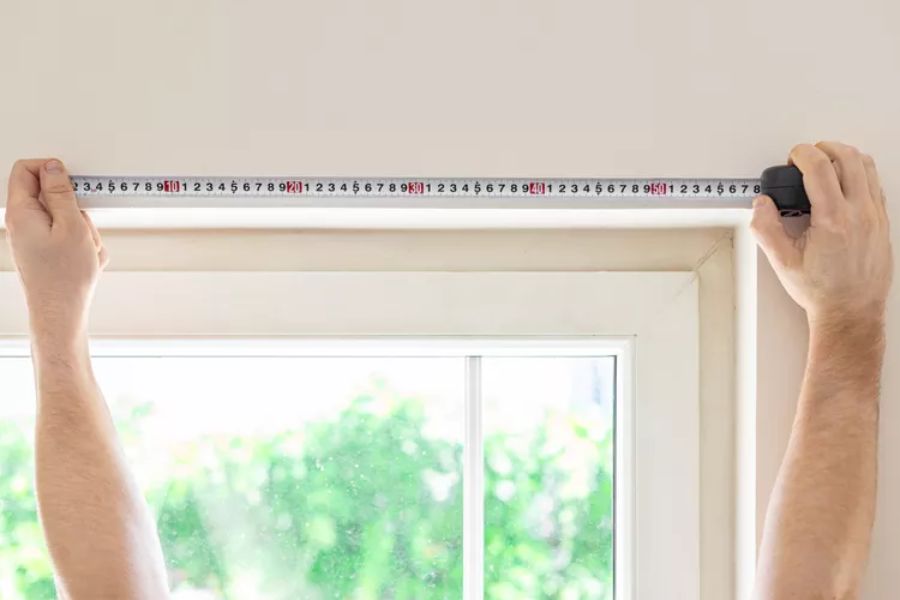
Measure the window
Step 3: Acquire Necessary Tools
Having the right supplies on hand simplifies the roller shades installation procedure and avoids potential challenges. The following is a list of needed tools when it comes to how to install roller shades:
- Drill
- Drill bits
- Pencil
- Measuring tape
- Level
- Screwdriver
- Screws
- Pliers
- Step ladder or stool (if required)
- Manufacturer’s instructions (for reference)
Inside Mount Roller Blind Installation
Step 1: Mark the Bracket Locations
How to install roller shades? First, place the right and left brackets within the window frame at the top corners for a neat, tucked-away appearance. Then, take the blind bracket and hold it against the top inside corner of the frame to ensure it is flush with its edge. If bracket covers are needed, ensure enough space for them to be mounted.
Then, using a pencil, mark the mounting holes for the bracket in the frame. Repeat the process on the other side.
Next, using your level, draw a straight line connecting the two marks you created for the bracket holes across the top of the window frame. You may use this line as a reference to ensure your brackets are level.
At the center of each bracket, measure and mark a location where you will install the brackets.
Step 2: Install the Brackets
Drill pilot screw holes into the spots you specified for the bracket centers, ensuring your bracket placement is clearly defined.
Attach the roller blind’s brackets firmly using a screwdriver or drill. Guarantee that the brackets are firmly screwed in to prevent the blind from falling.
Step 3: Attach the Roller Blind
As the manufacturer directs, clip or slide the blind into the brackets, ensuring the blind’s pin fits tightly into the bracket’s slot. Carefully lower the blind until it clicks firmly into the brackets to avoid damage.
Remember to test the blind by repeatedly pulling it down and rolling it up. Doing so will guarantee that it is free to move without any difficulties. You can modify the bracket placements or the blind for smooth operation.
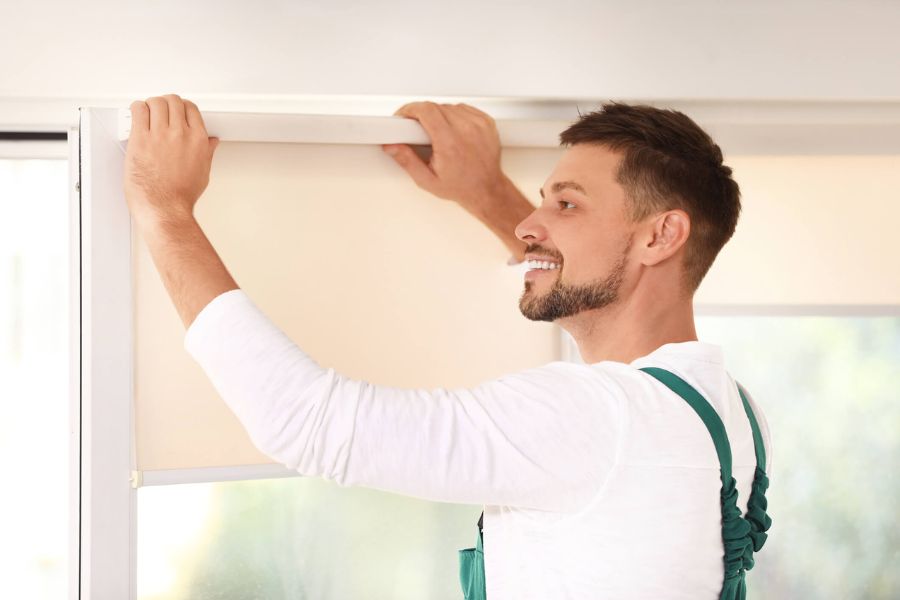
Attach the roller blind
Step 4: Install the Safety Mechanism
Place the child safety device coming with your blinds at the bottom of the chain loop drop and screw it following the provided instructions, ensuring that the looped chain hangs appropriately.
Outside Mount Roller Blind Installation Guide
Step 1: Mark the Bracket Locations
When installing outside-mount roller blinds, the brackets will be attached to the wall or the molding surrounding the window.
Hold one bracket against the chosen surface to ensure it is level, and position it where you want the roller blind to hang. Next, use a pencil to mark where the screws will go. On the other side, repeat these steps.
Step 2: Install the Brackets
Drill pilot holes there and align the brackets with the holes once you have marked the locations of the screws on the wall or molding.
Following that, inspect if they match up with the horizontal line you created and ensure that the brackets are tight enough by using the screwdriver or drill to secure them.
Another crucial step is to ensure that your brackets are precisely level for the optimum roller blind performance. Use your level to check and make any necessary modifications.
Step 3: Attach the Roller Blind
So, how to hang roller shades? Follow the manufacturer’s instructions and clip or slide the blind into the brackets. Ensure that the blind’s pin slides securely into the slot in the bracket.
Pull down and roll up the blind several times, ensuring nothing is in the way of its free movement. If necessary, make any changes to the blind itself or bracket positions for a seamless operation.
Step 4: Install the Safety Mechanism
Lastly, install the child safety device following the manufacturer’s instructions.
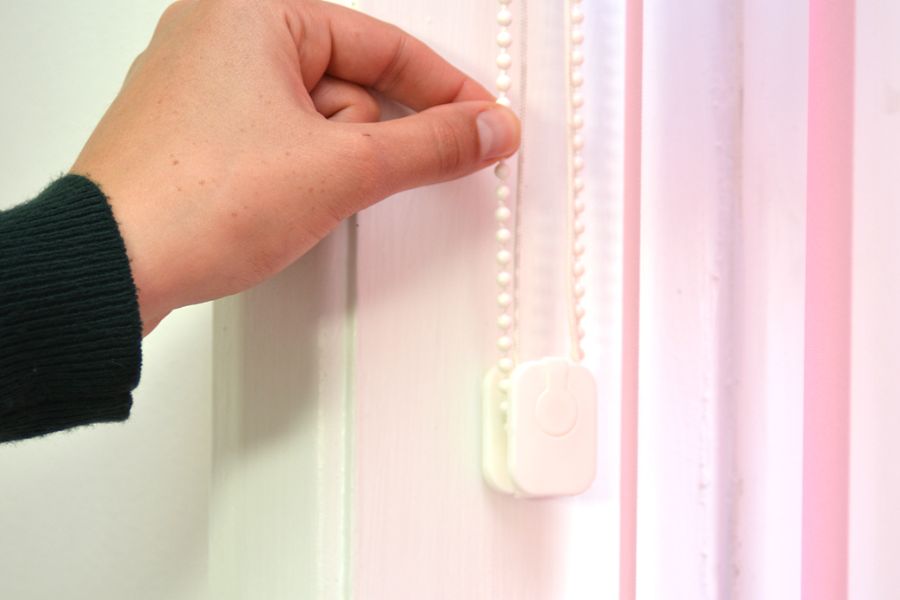
Install a child safety device
Cordless Roller Blind Installation Guide
Step 1: Measure Your Window
Inside Mount (Optional)
Measuring roller blinds inside the mount can be complicated because of the precise, snug-fit measurement requirement. The process may be more complicated, mainly when dealing with large or difficult-to-reach windows.
- Width Measurement: Measure the width of the window casing at the top, middle, and bottom. Choose the smallest width as the final measurement to ensure the roller shades fit neatly inside the window recess.
- Height Measurement: Measure the height at the top of the window recess by stretching the tape straight to the window sill. Take readings at multiple points to account for any inconsistencies. Select the longest measurement to ensure full window coverage.
Outside Mount (Optional)
Outside mounts provide more flexibility than inside mounts, with fewer limitations on width and length. Therefore, they are a popular option for DIY installations.
- Width Measurement: When measuring the width you want the blind to cover, include any overlap on each side, typically 2 – 3 inches beyond the window frame. This allowance will guarantee that all possible gaps are filled, resulting in more effective light blocking and the feeling of a larger window.
- Height Measurement: Start from the top of the blind’s intended mounting position and end at the bottom. While taking measurements, consider architectural details like baseboards and window moldings.
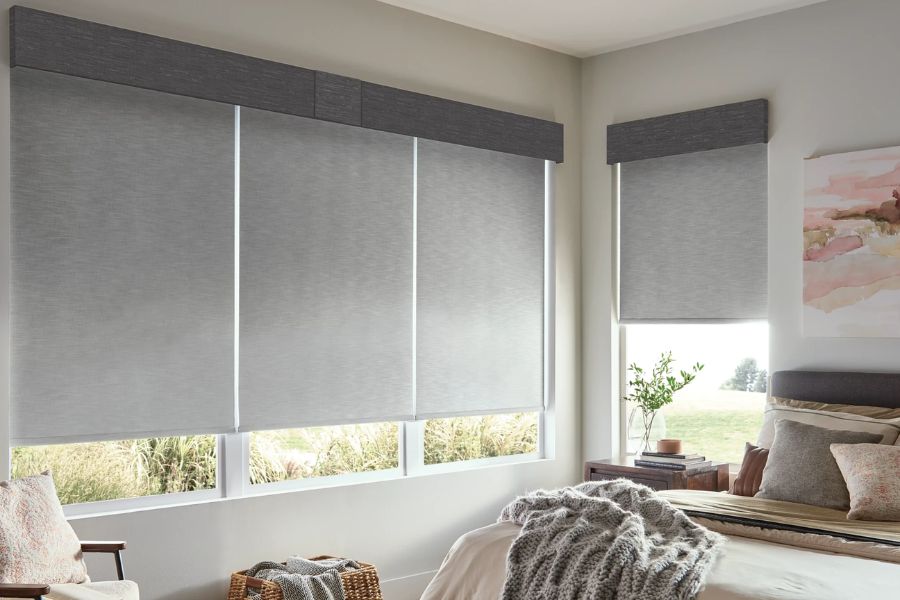
Install cordless roller blind
Step 2: Mark the Bracket Locations
Position the brackets at the required height above the window frame for an outside mount) or at the top of the frame for an inside mount. Remember that this type of bracket may have a slightly different design.
Mark the mounting holes on the bracket with a pencil. Repeat the same steps for the other bracket.
Step 3: Install the Brackets
Drill small holes at the marked spots. Next, utilize the included screwdriver or drill to attach the brackets, guaranteeing they are secure and level. If your cordless brackets have unique design or installation instructions, follow them carefully.
Step 4: Attach the Cordless Roller Blind
Following the manufacturer’s directions, clip or slide the cordless roller blind into the brackets.
Slowly pull down and push up on the bottom bar several times to ensure seamless, frictionless operation of your cordless roller blind. The mechanism of cordless blinds typically enables smooth lifting and lowering without a cord.
Step 5: Adjust the Tension (if needed)
Adjust the tension per the manufacturer’s instructions unless the blind retracts seamlessly.
Step 6: Install the Safety Mechanism
A few cordless blinds still include a safety mechanism for further protection. Follow the directions provided to install this.
Those are all the steps required regarding how to install roller shades. However, before immersing yourself in your space’s newfound privacy and design, you should test it and ensure you know a few maintenance tips for long-lasting use. Scroll down to find out!
How to Test and Maintain Your Roller Shades
Testing Your Roller Shades
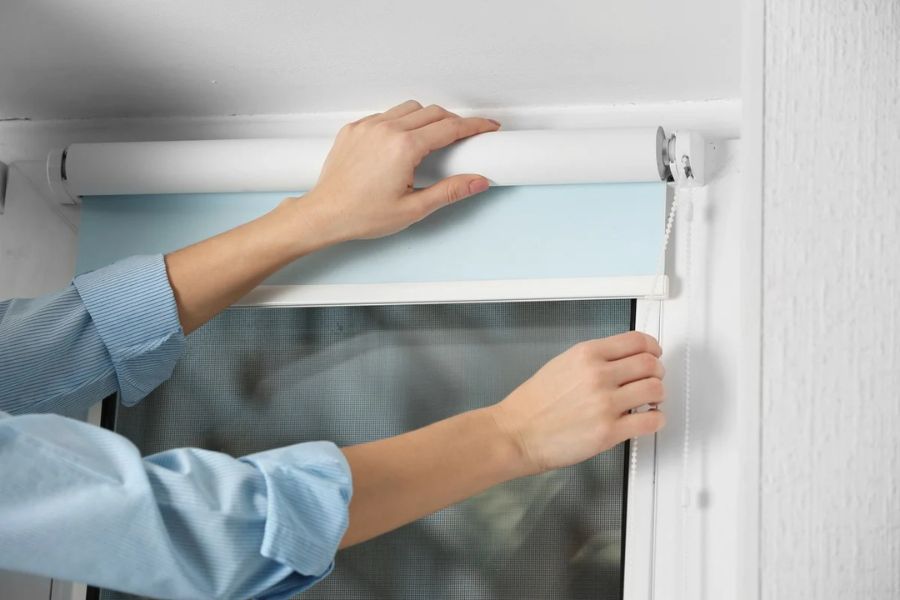
Tips to test and maintain your roller shades
1. Initial Testing
After finishing the roller shade installation, test how your roller shades move up and down.
Pull the shade down to its maximum length, then push it back up. The process ought to be easy and smooth. Otherwise, if you encounter any resistance or the shade moves unevenly, there might be a problem with the installation or the shade itself.
In addition, accurate measurement, bracket installation, and blind attachment to brackets are all important when installing roller shades. Thus, inspect the mounting brackets to guarantee they are stable and securely attached.
Furthermore, ensure your brackets are precisely level for optimal roller blind operation. Use your level to confirm that the shade is hanging straight and even, and make any necessary adjustments.
2. Functional Testing
Examine the locking mechanism to ensure the shade locks at different heights. Inspect the blinds for debris or any object obstructing the roller’s path. Besides clearing out whatever obstacles you discover, wipe the mechanism using a soft cloth and some lubricant if needed.
Moreover, ensure that all child safety devices are functional and properly installed. Inspect the condition of any equipment, if not used frequently, and replace any faulty.
Regular Maintenance
1. Cleaning
- Dusting: Use a soft brush, like a feather duster or a microfiber cloth, to get rid of dust and other debris. The back side facing the window needs special attention since it gathers more dust.
- Spot Cleaning: To remove spills and stains from the shade fabric, use a soft cloth, warm water, and mild detergent. Avoid abrasive cleaners or harsh chemicals as they may damage the material.

Clean roller shades with a cloth
2. Inspection
- Check for Wear and Tear: Inspect the fabric and components for early wear signs, such as sticking mechanisms, frayed edges, etc. It is advisable to do an annual maintenance check.
- Assess Bracket and Mounting Hardware: Make sure the screws and brackets are tight and not showing any signs of degradation or rust. Deal with minor issues as soon as possible to prevent bigger ones.
3. Lubrication
Roller Mechanism: If your roller shade mechanism is noisy or not functioning correctly, lubricate it with a silicone-based lubricant to guarantee smooth operation.
Long-Term Care Tips
- Seasonal Inspection: Arrange for an in-depth inspection of your roller blinds at least twice a year. If they are damaged, repairing or replacing the shade immediately would be beneficial.
- Avoiding Excessive Sun Exposure: To prevent fading caused by extended direct sunlight, use window treatments or position the shade.
- Professional Maintenance: If you want thorough upkeep for delicate or expensive roller blinds, consider hiring a professional cleaning and maintenance service. They may evaluate the condition, carefully clean the materials and components, and make minor repairs.


