Key Takeaways
- Discover the tools and materials needed to remove cellular shades safely.
- Follow a step-by-step guide on how to remove cellular shades from their brackets, making the task simple and hassle-free. Scroll down now!
- Troubleshoot 4 common issues below, ensuring you can remove your shades without damage.
- Get tips on post-removal steps in our blog’s last section to proceed with proper cellular shade treatment.
Tools and Materials Needed
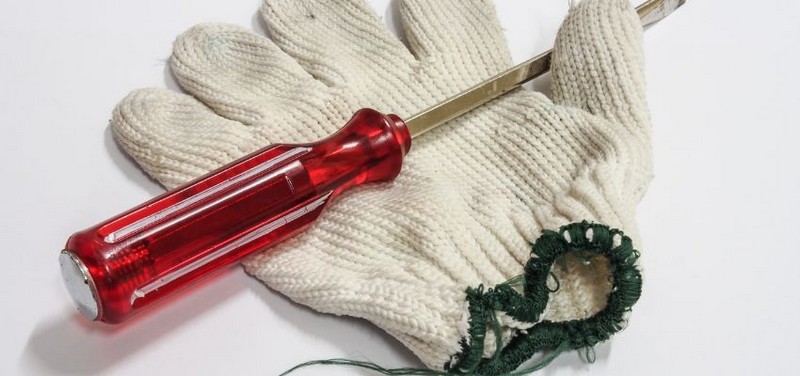
- A flathead screwdriver: A screwdriver will be necessary to loosen and remove any screws holding the shades in place on the mounting brackets.
- Step stool or ladder: Depending on the height of your windows, a step stool or ladder may be required to reach the shades for removal safely.
- Cleaning cloth: A cleaning cloth can be handy to wipe down the shades and the mounting area after removal.
- Storage space: Prepare a safe space to keep the shades once removed, especially if you plan to reinstall them later.
Optional: Cord Guide Removal Tool: If your cellular shades have a cord guide that needs to be detached, the manufacturer may provide a specific removal tool.
Preparation
Preparing before learning how to remove cellular shades will ensure a smoother and safer process. Here’s what you should do:
- Safety precautions
If you use a ladder or step stool to reach high windows, ensure it’s placed on a stable, level surface and adequately secured. Stay on a chair or other wobbly object.
You can wear gloves to protect your hands from cuts or scrapes while handling the brackets and shade material.
- Clearing the workspace
Remove any furniture or objects that might obstruct your access to the window or could be damaged by falling tools or shade components. Move any curtains, blinds, or other window treatments out of the way to provide a clear workspace for removing the cellular shades.
- Understanding the shade mechanism
Knowing the type of cellular shade you have (cordless, corded, or motorized) will help you determine the removal process. Corded shades might have tension cords that need to be released, while motorized shades might require disconnecting power before removal.
Identifying where the cellular shades are mounted is crucial. Look for brackets attached to the window frame or wall above the window. The brackets might be visible with screws or clips holding them in place, or they could be a hidden snap-on system. The shade manual or a quick online search for your specific model can provide information on bracket location or how to remove cellular shades.

Step-by-Step Cellular Shade Removal Process
Removing cellular shades can be a simple task. This guide will walk you through the simple steps on how to remove cellular shades from bracket, making the process smooth and hassle-free.
Step 1: Disengage the headrail from the brackets
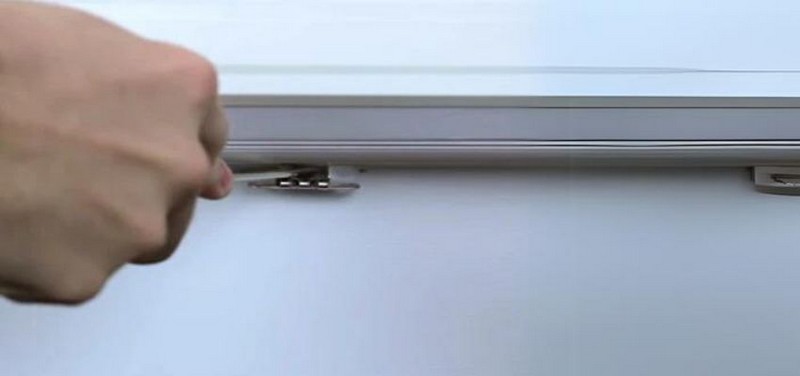
To remove the shade, insert a flathead screwdriver between the bracket and the headrail. Twist the screwdriver blade to disengage the headrail from the bracket. Repeat this for all brackets holding the shade.
Step 2: Release plastic brackets
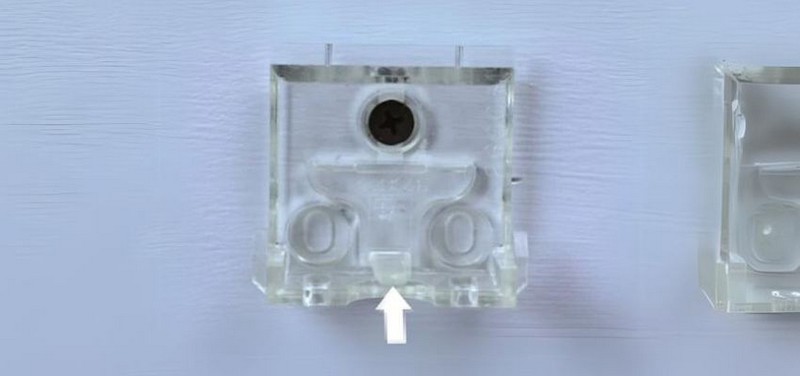
If your brackets are clear plastic, push the tab up on the back of the bracket while pulling the shade’s headrail forward. This will help release the shade from the bracket. Continue this for each plastic bracket until the headrail is wholly disengaged.
Step 3: Remove cellular shades
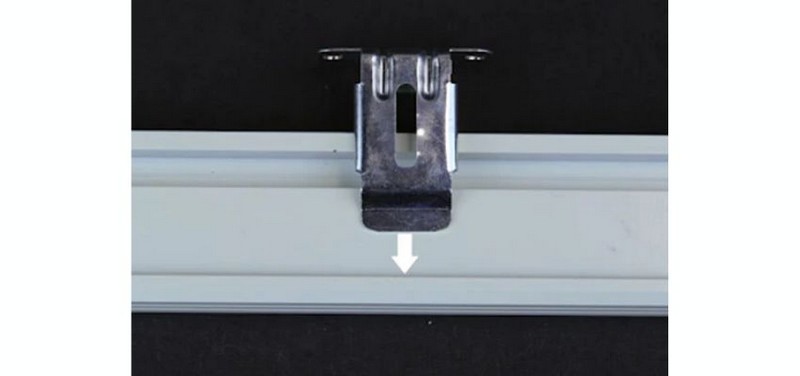
Once all brackets are released, gently pull the shade towards you. Now that the brackets are no longer secure, the shade should slide out easily. Lower them slowly to avoid any damage. Make sure the shade is entirely detached from the window frame before proceeding.
Step 4: Reinstalling the shade (if needed)
To reinstall, align the headrail’s top portion with the brackets’ front. Slide the bracket fully into place to ensure it securely holds the headrail.
Rotate the back of the shade up towards the window until you hear or feel it click into place. Operate the shade to confirm it moves smoothly and is securely installed.
Troubleshooting Common Issues
Features and benefits of cellular shades include excellent insulation and light control, though they can pose removal challenges. If you’re wondering how to uninstall cellular shades, follow this guide to address common issues you might encounter:
- Difficulty locating brackets
Most cellular shades come with installation manuals. Look for diagrams or instructions highlighting bracket placement.
The brackets are typically fixed to the shade’s headrail (top cassette). Examine the headrail for any screws, clips, or visible tracks that might indicate bracket location.
Carefully run your hand along the headrail on the top and sides to feel for any bumps or protrusions that could be hidden in brackets.
- Stubborn or stuck brackets
If the brackets seem stuck, try applying gentle but firm pressure in the direction they should detach (often upwards or outwards). Use a flat-head screwdriver to pry them loose, but avoid damaging the headrail or wall.
Some brackets might have a locking mechanism. Look for small levers or buttons that must be disengaged before detaching the bracket.
- Removing shades without visible brackets
Some cellular shades have a snap-on mechanism where the headrail clicks into brackets mounted on the window frame. Try gently pulling the shade down and outwards to see if it disengages from the brackets.
If you’re unsure how to remove cellular shades, it’s best to consult the manufacturer’s website or contact Creative Windows’ experts directly for specific instructions for your shade model.
- Addressing potential damage to the wall or window frame
When prying brackets loose, use a flat-head screwdriver wrapped in cloth to avoid scratching the wall or window frame. Before detaching the shade, have someone hold it to prevent it from falling and causing damage.
If any small screw holes are left behind after bracket removal, you can fill them with spackle and sand them smooth before repainting (for walls).
Post-Removal Steps
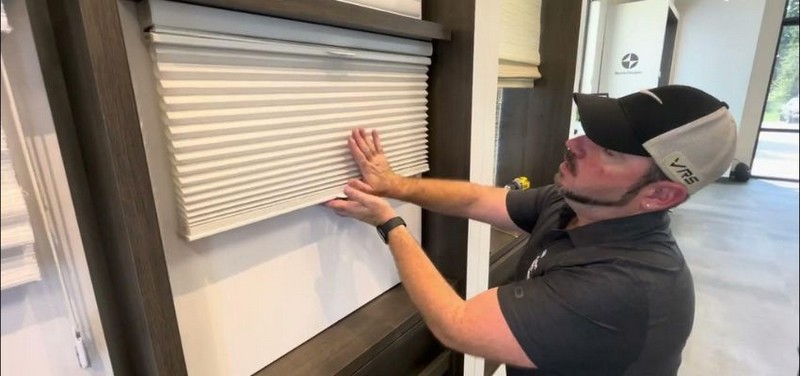
Now that you’ve taken down your cellular shades, here are some crucial steps to follow for how to take down cellular shades:
- Cleaning and maintenance of cellular shades
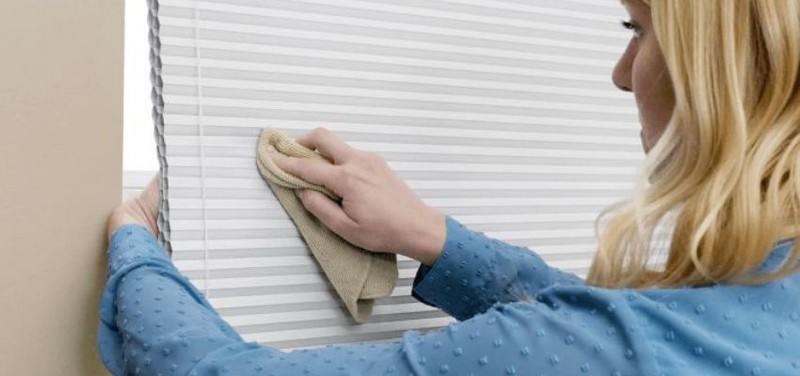
Use a soft microfiber cloth or a vacuum cleaner with a brush attachment to gently remove dust and cobwebs from the shade fabric. Be sure to vacuum both sides of the shade.
For minor stains, use a mild soap solution (a few drops of dish soap in warm water) on a damp cloth. Test the solution on an inconspicuous area first. Blot the stain gently, working from the outside inwards to avoid spreading. Let the shade air dry entirely before reinstallation.
Important Note: Not all cellular shades are washable. Check the manufacturer’s cleaning instructions to know how to clean cellular shades before attempting any wet cleaning methods.
- Storing shades properly if reusing
Avoid storing shades in direct sunlight or areas with high humidity, which can cause warping or mildew growth. If these conditions are met, a closet, attic, or basement can be a suitable shade storage location.
Tightly folding cellular shades can damage the fabric and cause creases. Roll the shades loosely around a cardboard tube to minimize wrinkles. Alternatively, you can fold them accordion-style, ensuring the folds are large and loose.
- Preparing the window for new treatments (if applicable)
If the brackets left small holes in the wall or window frame, use spackle to fill them in. Let the spackle dry thoroughly, then sand it smooth before repainting (for walls) or touching up the finish (for window frames).
Additionally, when choosing the right cellular shade size, ensure proper measurements to fit your window precisely. To prepare for installation, use a damp cloth to remove any dust, dirt, or debris left behind from the shade brackets.
Frequently Asked Questions
1. How long does it take to remove cellular shades?
Removing cellular shades typically takes 5-15 minutes per window, depending on the number of shades and mounting system. If it’s your first time, add a little extra time to identify the removal mechanism.
2. Can I remove cellular shades by myself?
Yes, you can usually remove cellular shades yourself. They are designed for easy installation and removal, often requiring a screwdriver.
3. What should I do if I can’t remove the shades?
If you need more clarification about how to remove cellular shades or encounter difficulty, it’s best to stop. Forcing it could damage the shades or brackets. Here are some options:
- Consult the manual or manufacturer’s website: Look for installation instructions that might mention removal steps.
- Search online: Use the brand name of your shades and terms like “remove” or “removal instructions” to find specific removal guides.
- Consider a YouTube video: Visual demonstrations on YouTube can help you understand the removal process for different shade types.
4. Are there professionals who can help with shade removal?
Yes. If you’re uncomfortable removing the shades or seem permanently stuck, you can contact a window treatment professional or a handyperson service. They can safely remove the shades for you.


